
The barn is slowly getting renovated/remodeled and with each step forward I am falling more in love with it. The first major project was putting on a new roof as the old one was leaking significantly. Once that debacle ended, Dusty was able to re wire the barn and get all the outlets functioning once again. The last project we did was to cement the barn aisle and get rid of the 6″+ of loose, fluffy dirt that poofed into the air with every step taken and coated everything including all my tack in a fine layer of dust within 30 seconds. Once those projects were done, it was on to the fun stuff.
Currently I am using the old show office as my tack room and it is working out ok. It is small, but has a door and a ceiling to keep the dirt out. The issue is that most of the space is occupied by a large work bench, an old fridge, the electric panel and a ladder up to the loft which take up 3 of the 4 walls, limiting my options for organization. The actual tack room is down the aisle a little ways but has been sitting unused because a) no ceiling b) no door and c) rotten floor boards from previously leaking roof.
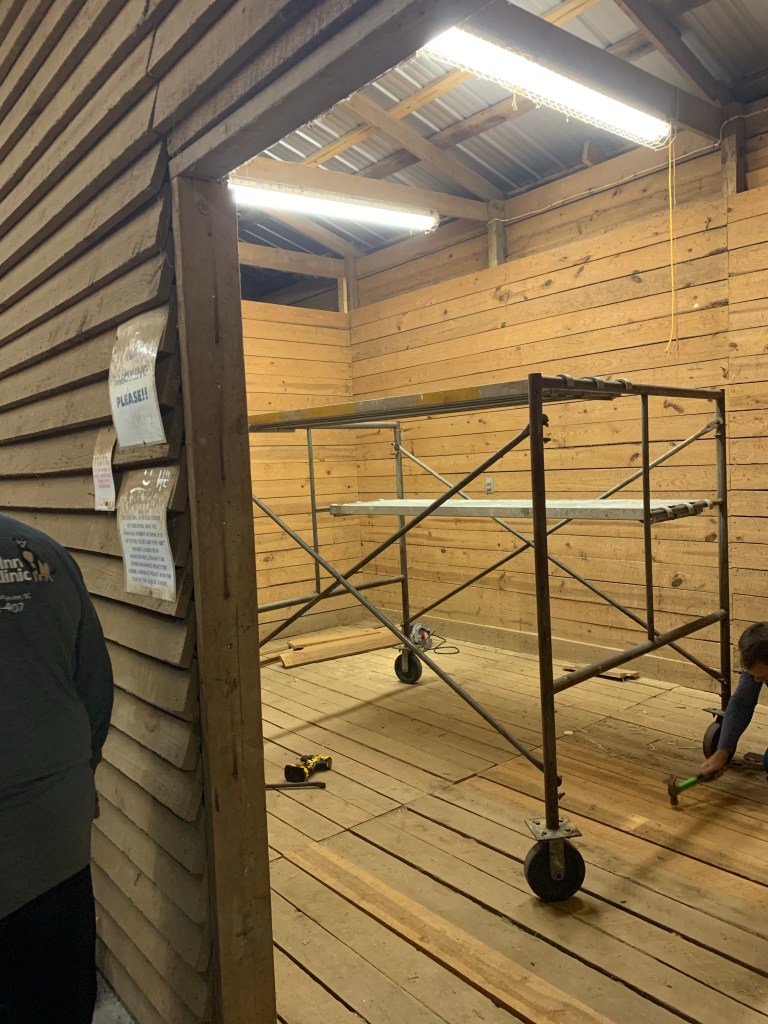
Well, it was time to finally start turning that room into a usable space again so that I can move my tack out of the show office and turn that into Dusty’s workshop. The first fix was easy: remove the rotten floor boards and put down new ones. We needed to remove the top most wall board for the next project, so Dusty re-purposed those for the floor.
The bigger issue was the ceiling. Thankfully, Dusty’s brother is an engineer, super project savvy and was coming down with his family to visit us after Christmas. The trip turned into a group effort to build a ceiling which turned out better than I ever imagined and was also a lot of fun in the process. There were a total of 10 of us, though Wyatt floated in and out, and it took us from 7 am – 5:30 pm to get the job done and everything cleaned up.
This is not a DIY how to because I’m not an engineer and I am not project savvy. I refused to use any of the power tools so I was relegated as the official measurer , carrier of heavy things, and cleaner upper, but I did pay close attention to what we were doing, asked a lot of questions and learned a lot along the way. I’ll do my best to summarize how we went from an empty space above our heads to a gorgeous, custom made drop ceiling in the span of about 10 hours, but don’t go trying this at home off this post. I’m sure I’m leaving things out and I don’t know the correct names for anything.
The first step was to create a frame around the top of the wall. I asked why we removed boards just to add new ones and was told that the new boards were bigger. This was super quick.
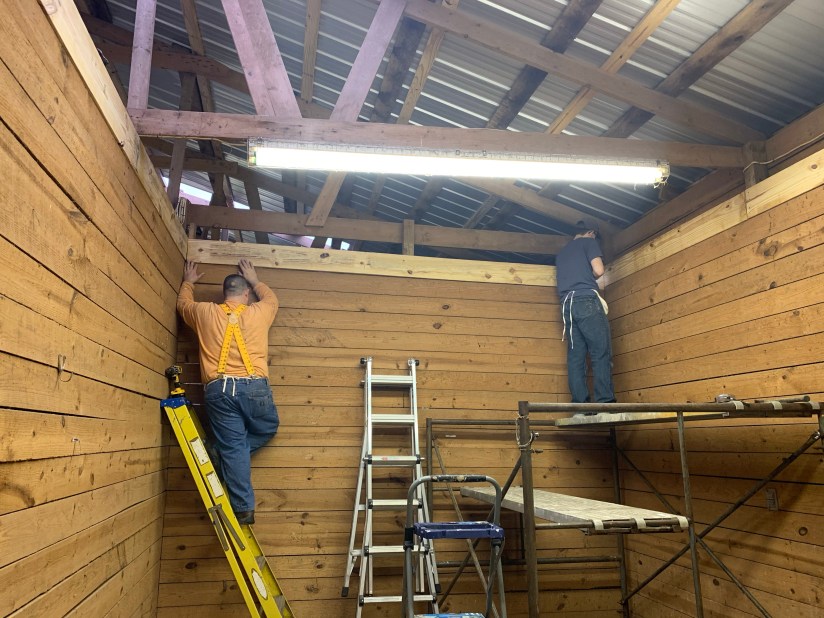
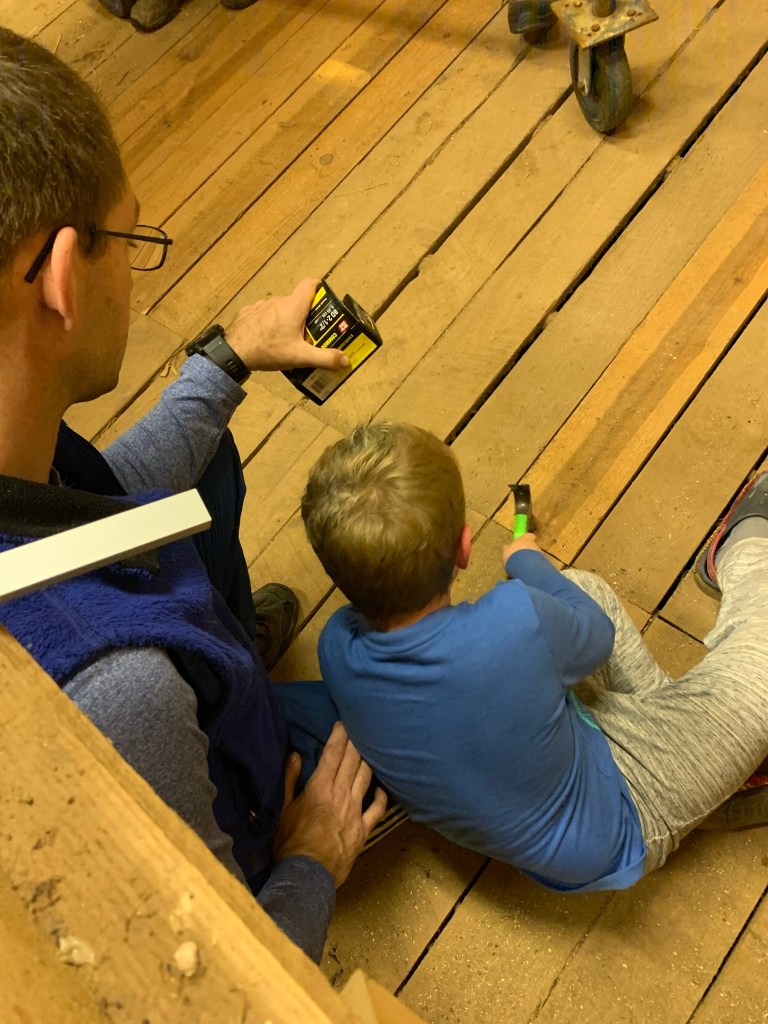
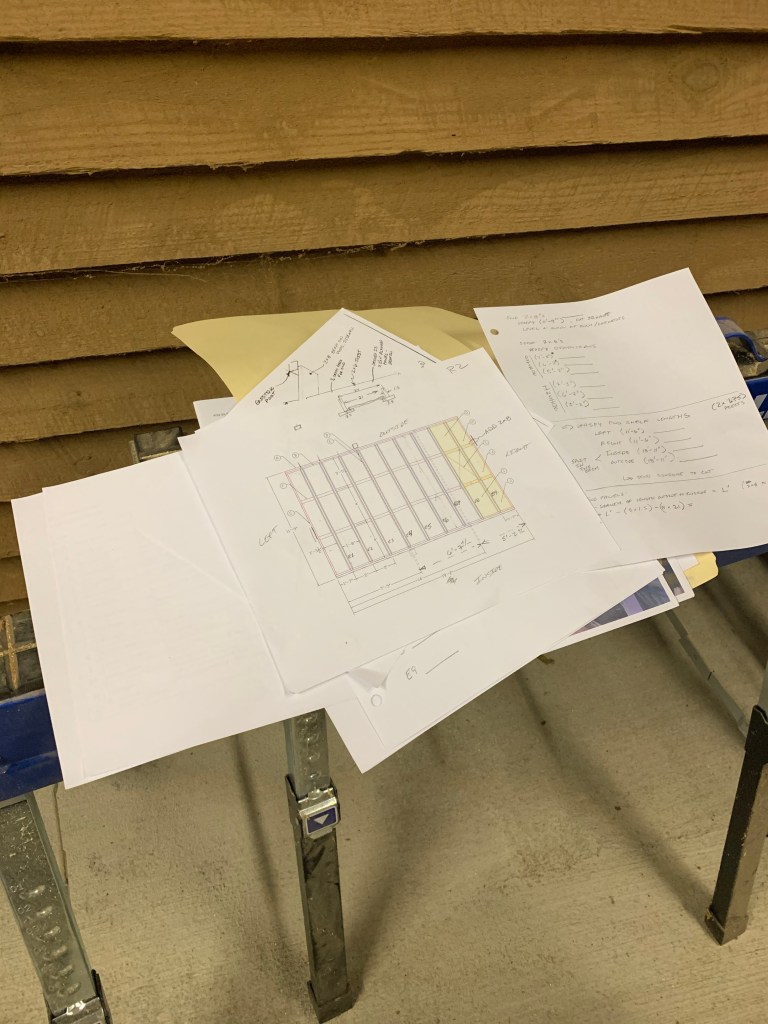
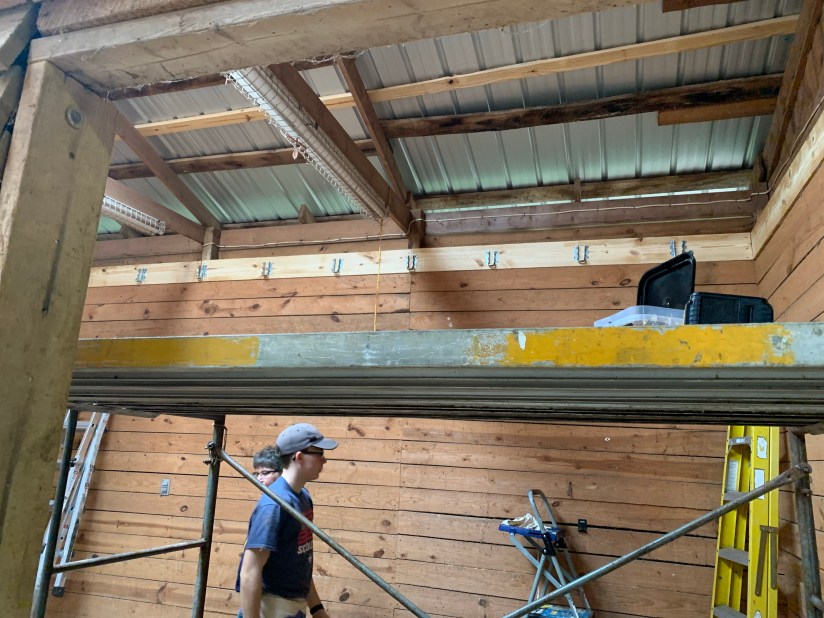
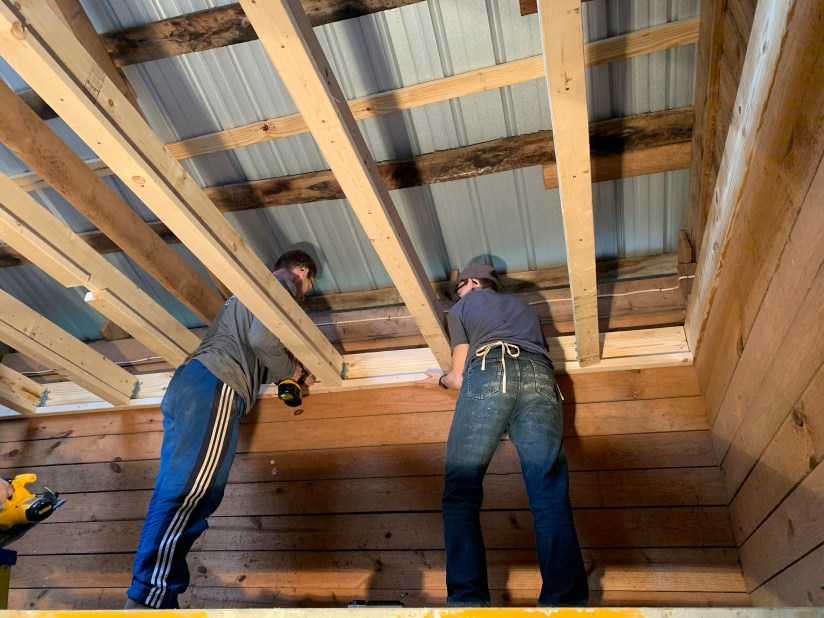
From here, it got a little tricky. We needed to put up metal brackets that would hold wooden beams that spanned the width of the room. The room was not built square, which wasn’t surprising, and we had to get them all parallel and level or the panels wouldn’t work. We used a laser leveler, lots of measuring and some ingenuity to get this part figured out.
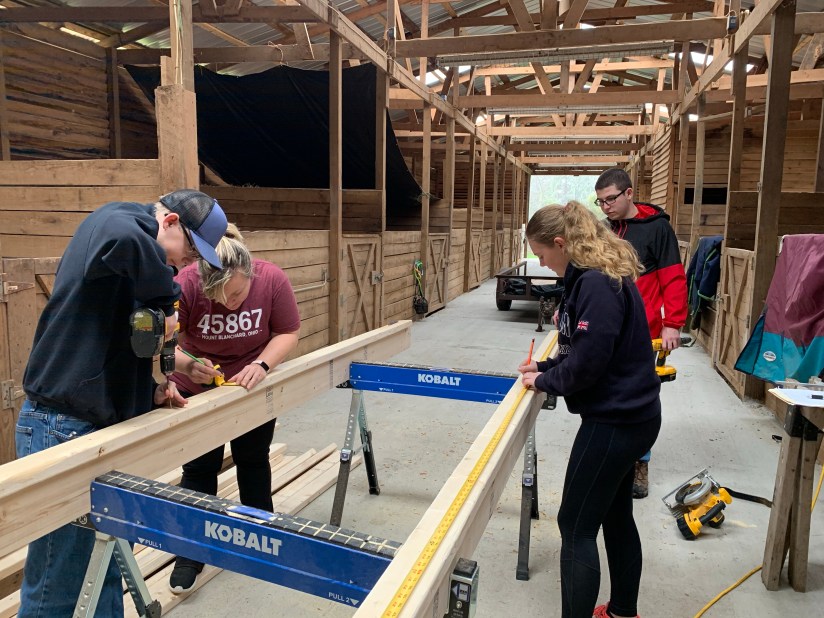
While those smarter than me were doing this job, I was out in the barn aisle helping to create the beams that would sit in the brackets. This was really fun and also not something my brain would ever have been able to conjure up. We took the measurements that the boys shouted over the wall at us, cut the board to length, then added a second smaller board to the top of this one, cut it 2″ shorter and screwed it on. This created a T shaped beam that would sit inside the bracket and have a lip to hold the panels.
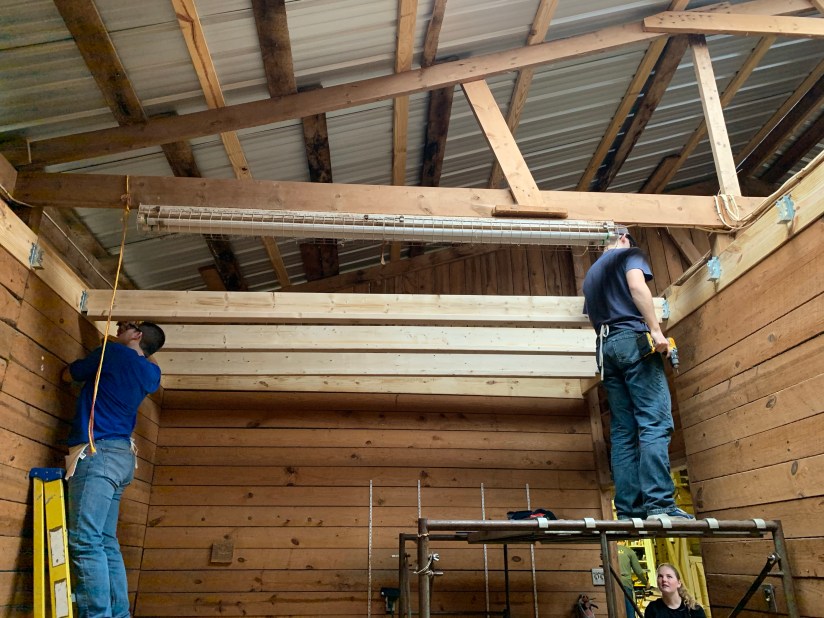
Once all the beams were done, they were screwed into the brackets.
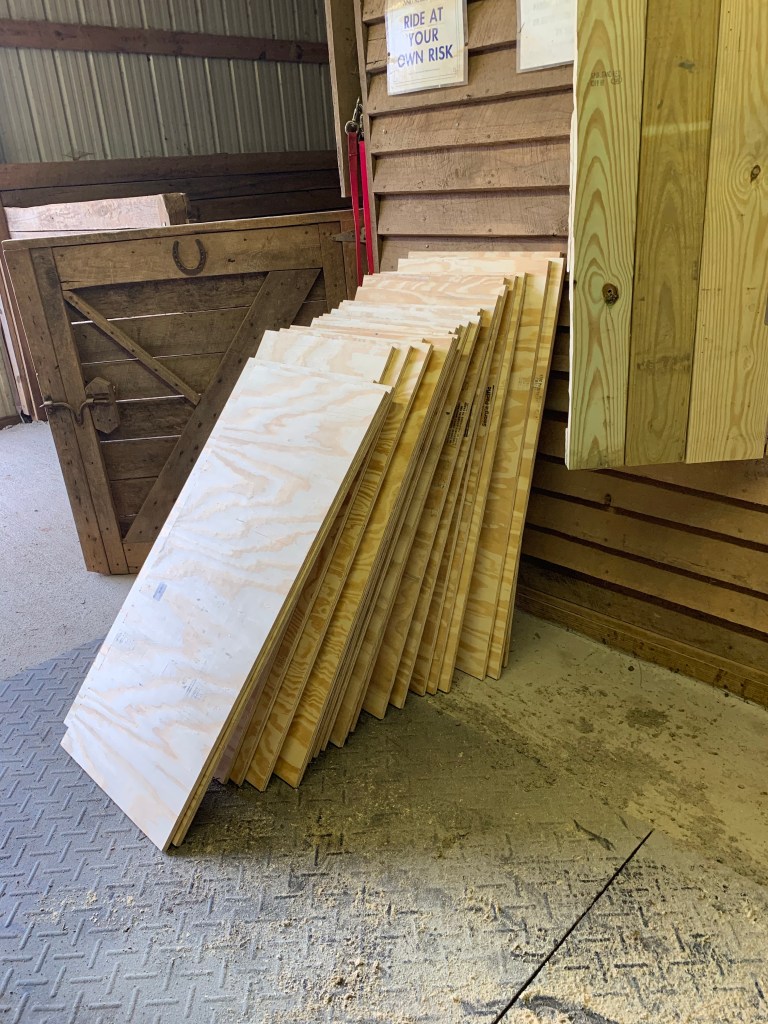
While the boys were on ladders (another task I refused to do) a group of us headed over to the table saw I got Dusty for Christmas this year and began cutting down large plywood panels into smaller rectangles. The center 24 were easy to do as they were all the same shape, but the short sides of the room were not square so six panels had to be cut with one end wider than the other.
One final last set of boards needed to be added to the frame work before we could move on. A small 1×2 was added under the T beams to create a more finished look.
Phew! We were nearly there. This next step took forever. Two boards were needed length wise, perpendicular to the T beams to create the proper grid framing for the panels. In order for these boards to sit well, notches were cut out of the T beams. We had discussed doing this while making the T beams, but the fear was that if they were off at all once the beams were installed, it would look awful or not work. So….the guys cut the notches out over head while installed. Not a job for me.
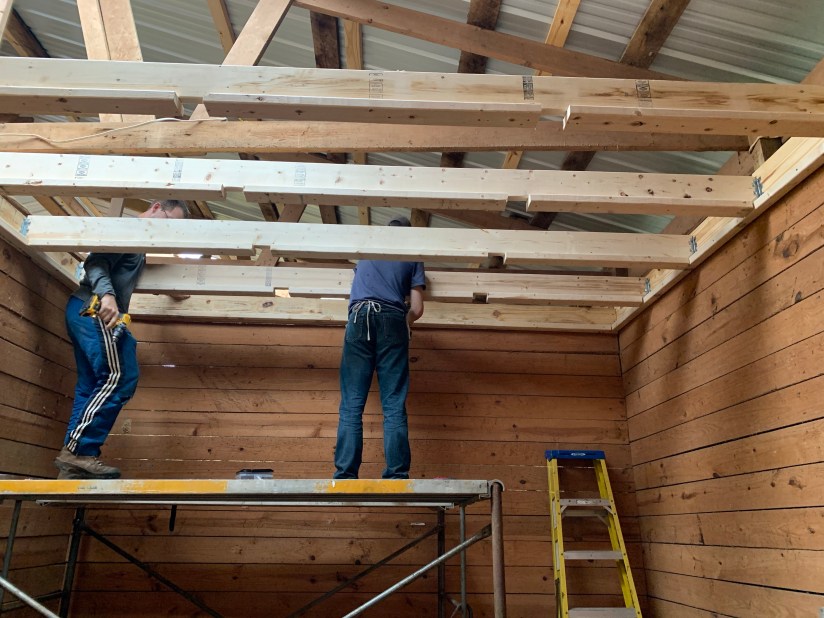
From there it was attaching the beams through that notch to finish the grid

Then we had to take measurements of the openings along the two short side walls. Since the room is not square, we had to make adjustments to create panels that were wider at one end to fit properly.
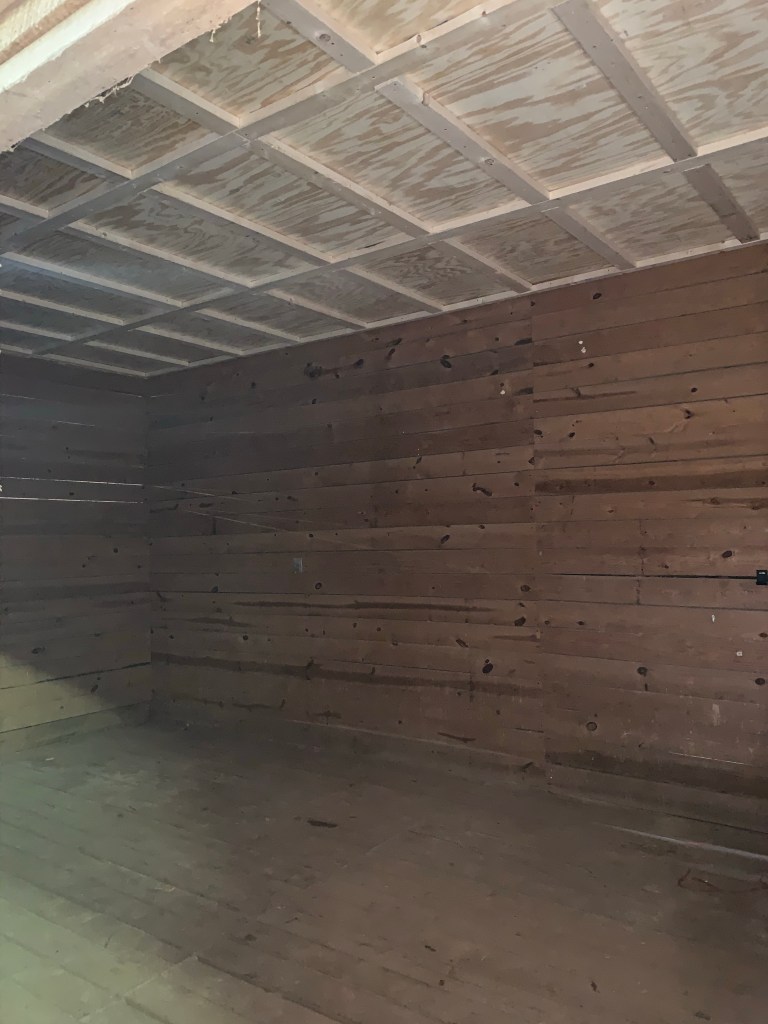
We all let out a cheer when the final panel slid into place and we had a completed ceiling. It was a lot of work but with a great group of people all pitching in, it was fun and went by fast.
Dusty needs to install new lights since the ceiling went below the height of the old ones but I haven’t decided what I want yet so that is on me. I plan to spend New Years Eve and Day staining the panels a dark brown and painting the beams white to finish it off.

The next step for the tack room will be to create a door which is proving more annoying than we thought. The opening is an odd size: too big for a single door, too small for double doors so we are weighing our options on that. Once we have a sealed in room, it will be on to organization and then moving everything in. Its a large space, so I have plenty to work with and already know the basic gist of where I want things on which wall. The biggest issue is that I really don’t like having everything on the walls in the open. No matter how organized it still looks cluttered and messy to me, so Dusty has been tasked with building a wall of lockers so my saddles and bridles can all be behind closed doors for a much cleaner look. That is going to take a while to do though, so in the meantime we will make a trip to Ikea for storage ideas and use temporary saddle racks that I already have.
I can’t wait for the tack room to be finished. It will be a great renovation to the barn and one step closer to having it all done.

Oooohhh! So clever with the ceiling and the panels dropping into place! I’m so excited for you!
FWIW, we got LED lights on Amazon that were really affordable and one is all that’s needed in my 10’x12′ tack room. It’s SO BRIGHT and lovely! My horse dentist told me that shorter ones (mine is 6-8′ long) can be purchased at Rural King for ~$20. Might be an affordable and bright option for your tack room.
LikeLike
I had no idea how we would build a ceiling, so I was thrilled when his brother came down to help us. I’ll look into that light. Thanks for the info! I have an issue with lighting because ti is all so damn ugly.
LikeLike
omg – congrats on the new tack room!!!! it looks fantastic and I cant WAIT for you to move in!!
LikeLike
Thanks!! It was a lot of work but it is coming together nicely. Once the door gets figured out (I think we will end up going with a large sliding door) then I can really get moved into it and out of the cramped office
LikeLike
Very cool! Nicely done!!
LikeLike
Thanks! I couldn’t have done it without the entire group effort.
LikeLike
I love the look of the panels. It will be fun to finish. I wonder if Ikea has some storage closets that would work for what you want?
LikeLike
They may. I’m hoping to take a trip soon. It’s about 2 hours from me so I’d need the entire day to go.
LikeLike
I’m impressed you got all that done in one day. That’s awesome. That’s such a huge tack room too. You’ll be able to fit everything in there. Our is small and We have to keep some stuff like blankets and saddle pads in bins in the shavings shed attached to the barn.
LikeLike
It’s a good size. One wall is large enough to hold all the blankets stretched out for drying which I’m excited about. No way could we have done it in a day if we didn’t have 9 of us to do it. We had three groups doing different jobs at all times so I could move along
LikeLike
Finally some fun projects!
LikeLike
Very nicely done! It looks fantastic!
LikeLike
Nice! So neat that you were able to get family help with the project. Tack Room organization is one of my favorites so I hope you guys are able to get to that soon so I can live vicariously.
LikeLike